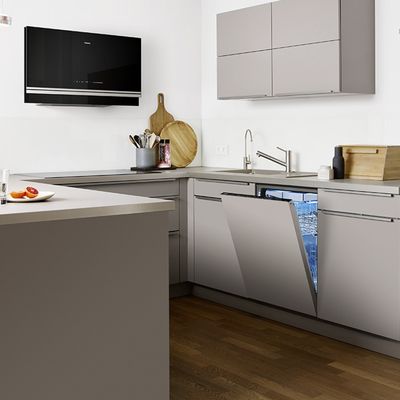
A U-shaped kitchen has uninterrupted worktops that run along three successive sides of your space. The beauty of this is that it works no matter what the size or shape of your kitchen. Below we reveal a few of our favourite tips to planning a U-shaped kitchen.
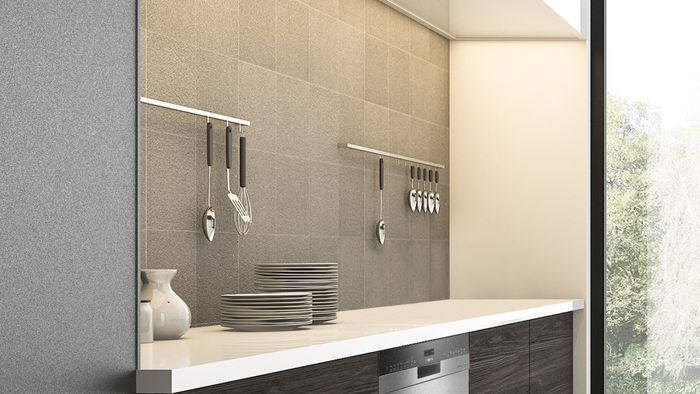
1. Create breathing room
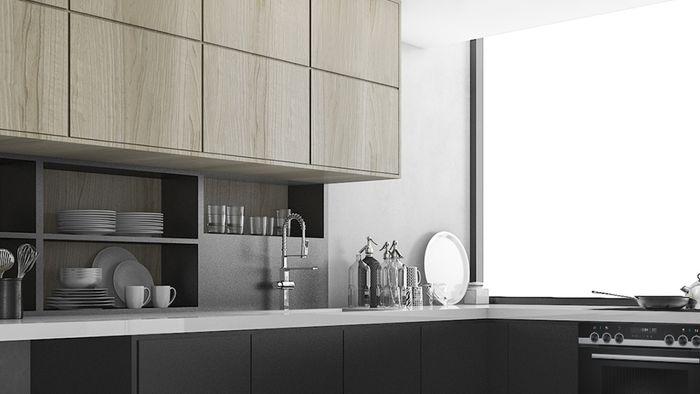
Cabinets on every wall can sometimes feel a little overwhelming in a U-shaped kitchen set-up. Create some breathing room with open shelving or hanging rails. If your space is on the small side, make sure you have at least two metres to move between the adjacent banks of units. Also consider choosing a handleless kitchen design because sleek and uninterrupted lines will help to create a feeling of more space.
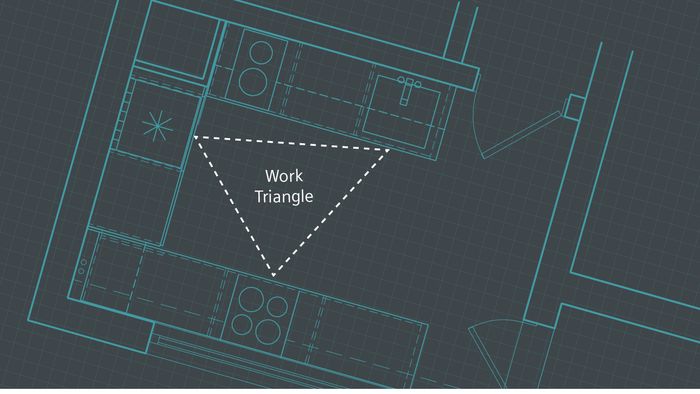
2. Plan an efficient layout
For an efficient working kitchen, it is important to minimise the walking distance between the cooking, cooling, washing and storage areas. The benefit of a U-shaped kitchen is that it is possible to give enough room to work in each area – by placing them on different points of the ‘U’ – while keeping them within easy reach of one another. The result is a kitchen that functions exactly as you need it to.
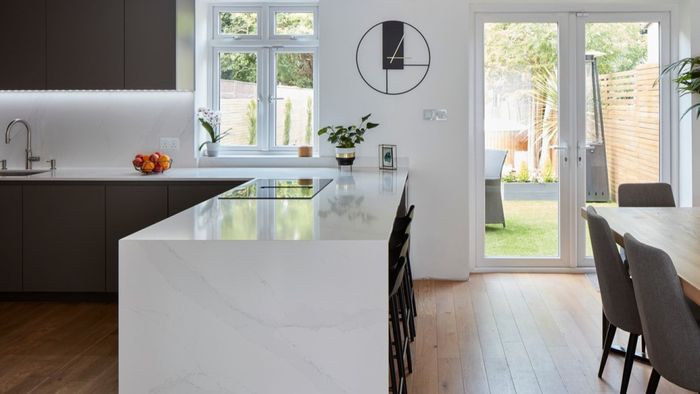
3. Include a peninsula
Use a peninsula unit to create a U-shaped kitchen in an open-plan space. A peninsula is similar to an island, but instead of standing free in the middle of your kitchen, one end is attached to the wall. Perhaps locate your hob on the peninsula: that way, you can face into the room and be part of the conversation while cooking. If you like the idea of casual dining, or you do not have space for a dining table, incorporate a breakfast bar into your peninsula. If this is your only dining space, make sure your chosen stools are comfortable for long-term sitting.
4. Consider storage options carefully
Typically, a U-shaped layout will feature two corner cabinets. These can be difficult to access without clever storage such as carousels or pull-outs, which maximise the space by helping you locate and reach items quickly. They also keep pots and pans organised so you do not have to pull everything at the front out to get to the further reaches of your cabinets.
Another way to maximise space in a small U-shaped kitchen is with made-to-measure units that stretch to the ceiling. This will be more expensive than standard units, but the added convenience of all that storage will make it a price worth paying – particularly if you have a lot of kitchen kit.
If you can, consider leaving sections of the wall clear of cupboards to stop the kitchen feeling claustrophobic. Boost storage by installing open shelves instead.
5. Add an island
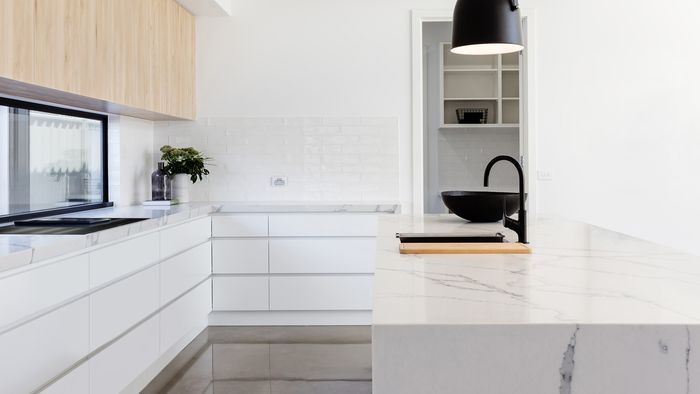
If your U-shaped kitchen is particularly large, consider placing an island in the centre of the space. This will not only fill the void, but increase storage and boost prep space. Make sure there is enough space to move around the island – a minimum of one metre clearance on all sides of the island is recommended.
6. Mix materials and colours
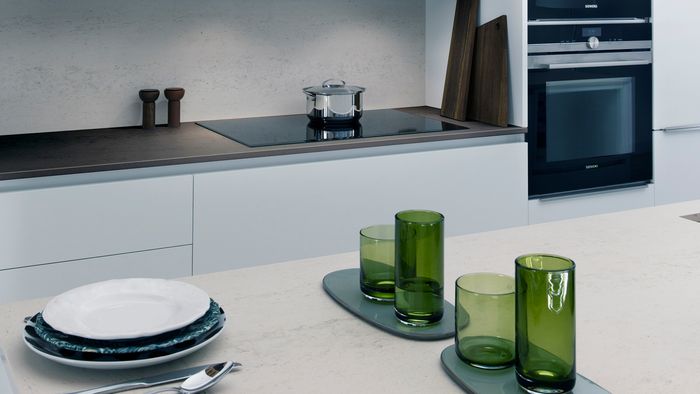
A U-shaped kitchen in a large room can have long stretches of worktop, so if you want to vary the look consider using two different materials. This is a good tip if you have perhaps set your heart on granite worktops but your budget does not allow for it. Have a section of natural stone for prep and baking (cool stone is great for rolling out pastry) and choose a good-quality laminate for the rest. Similarly, if you fancy timber but are worried about water damage, choose a non-porous material for around the sink and inject warmth with a timber breakfast bar.
In a small, U-shaped layout, units all in the same colour can be overwhelming. Consider choosing darker shades for the base units and lighter doors for the wall units, or even glazed doors that will create a more open look.

